
Build an asset that survives export, texturing and everyday use in OpenSimulator. A complete delivery includes the editable model, deliberate UVs, materials, all visual LODs, collision and any required scripts.
What you will make
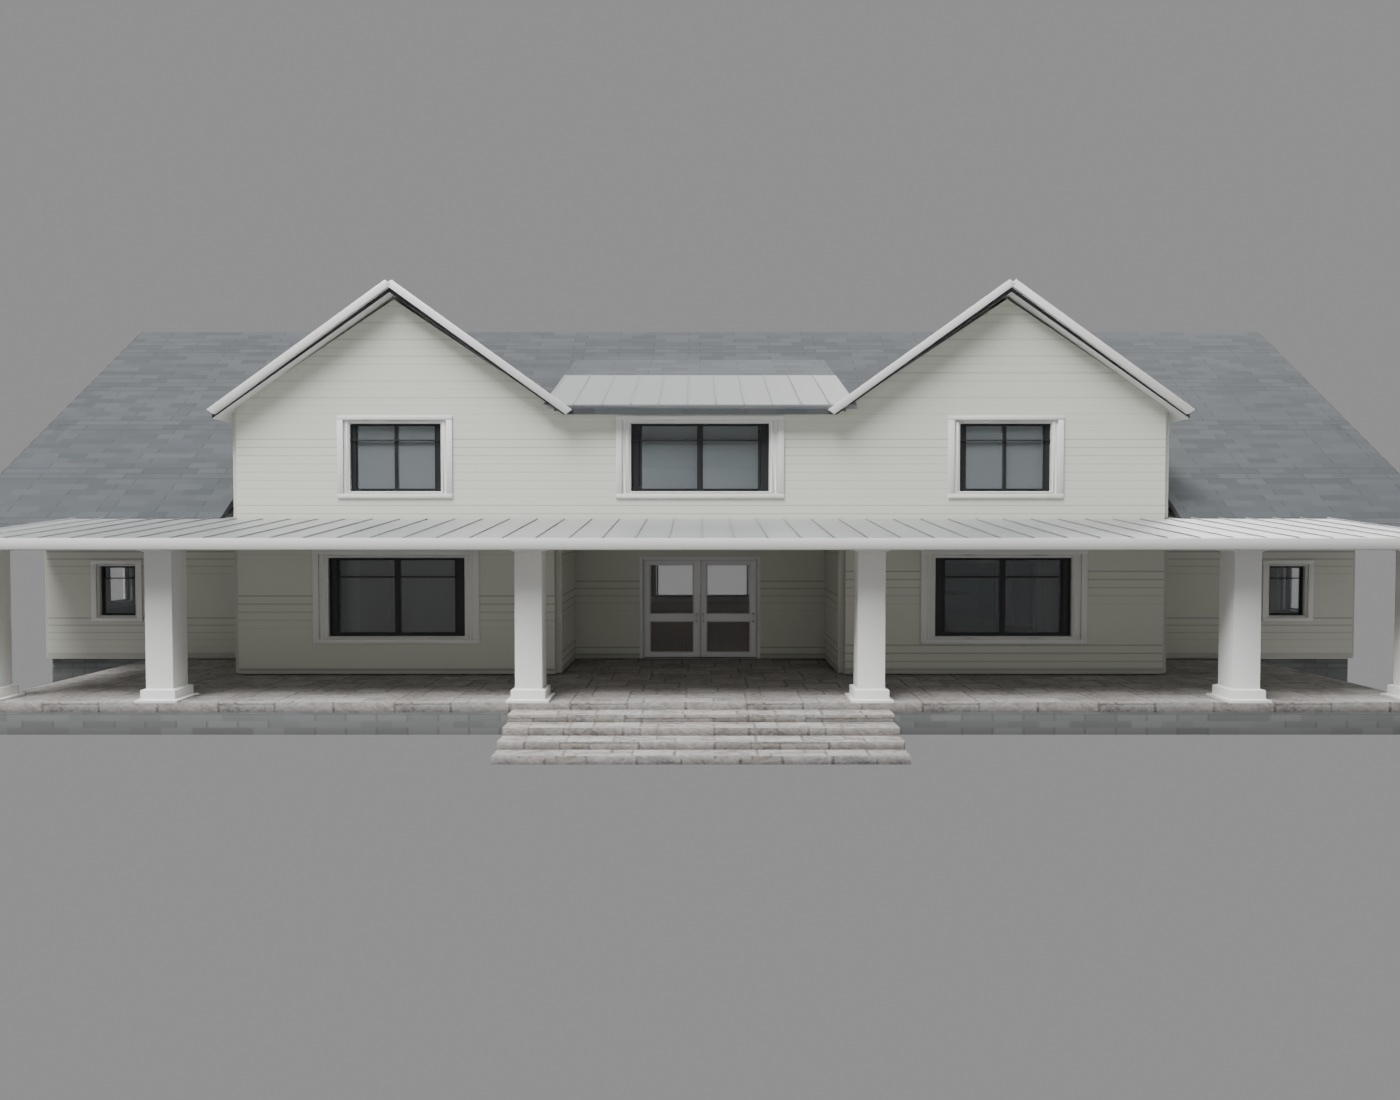
A Blender source, reproducible build files, High/Medium/Low/Lowest upload files, collision geometry, textures, PBR materials, a face map, previews and import instructions. Use the existing $opensim-mesh-builder skill.
The quality target
Use fitted glazing, shaped trim, intentional joints, suitable bevels and correctly placed hardware. Spend detail on visible construction and silhouette. Keep the completed asset easy for another builder to texture and operate.
Page 2Brief the model and plan the parts
Set up the tools
Use Codex with GPT-6 Astra selected in the model control available to your account. Open a local project folder so the agent can inspect inputs, run tools and save results. These guides use a local Python and Blender workflow; a chat response alone does not execute an export. OpenAI identifies the API model as gpt-6-astra [1]. To install the companion skills, ask Codex to review the extracted Skills folder and install its three skill folders in your user skill directory, preserving any newer local versions. Open a new chat and ask it to confirm the named skill is available [2]. Ask Codex to locate Blender, identify its version and verify the available exporter. Our recent pipeline uses a custom Collada exporter; do not assume a particular Blender version includes a working DAE export operator.
Supply reference and measurements
Attach front, side and detail references where possible. Specify actual width, height and depth, intended viewing distance, material style, moving parts and collision needs. Identify dimensions inferred from images. State which surfaces users must texture independently.
Prompt to copy
Use $opensim-mesh-builder. Build a detailed white two-pane pocket door module, 2.4 m wide and 3.2 m high, with fitted glass and recessed handles. Separate frame, moving leaves and glass. Provide clear front and back texture faces, separate edge bakes, stable face names, four LODs and walkable doorway physics. Save Blender source and an upload ZIP. First show measured layout and material-face plan.
| Part | Contract |
|---|---|
| Frame and walls | Static, aligned openings and readable UVs |
| Door leaves | Separate moving parts with authored pivots |
| Glass | Fitted dimensions and deliberate transparency |
| Collision | Simple solid surfaces with clear openings |
| Scripts | Verified leaf identity, limits and closed transforms |
Page 3Build clean surfaces with real detail
Refine the blockout
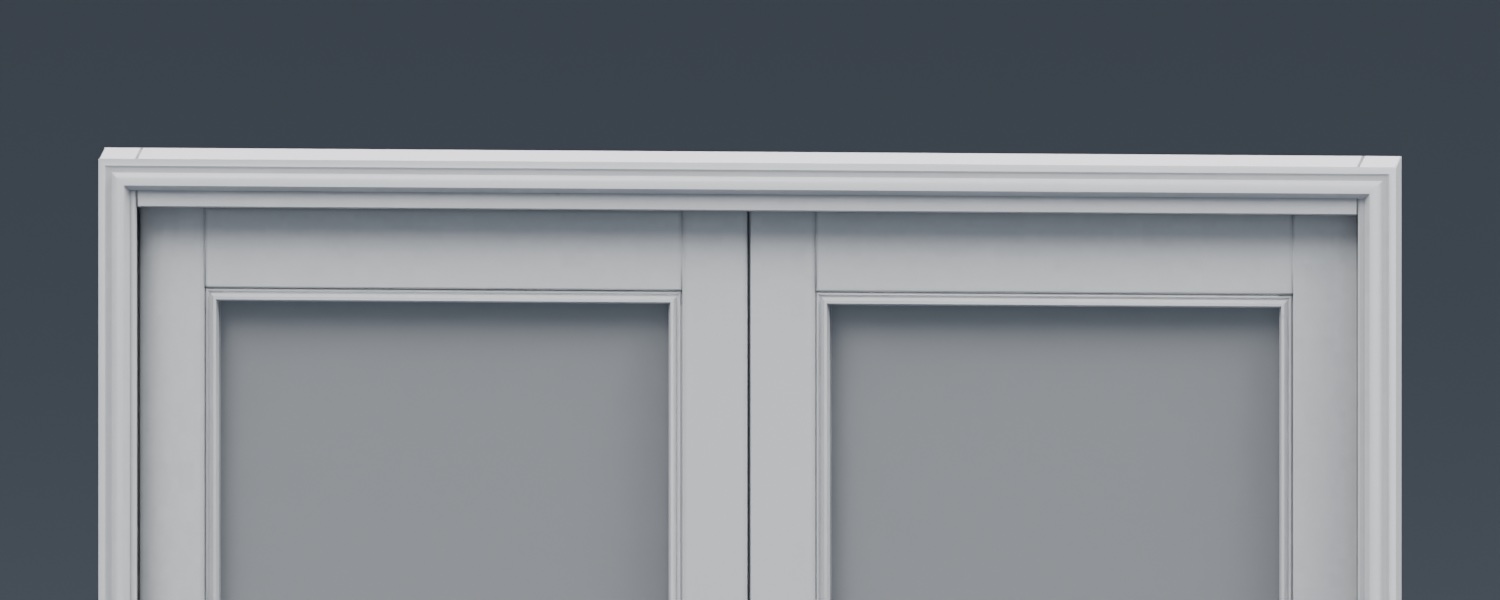
Check dimensions and openings before adding trim. Model important profiles, bevels, joints and hardware. Confirm that glass reaches its seat without protruding and that handles are on the intended meeting edges. Keep a working gap where a part moves.
Remove only truly buried faces
Joining overlapping objects does not remove internal polygons. Trim or union permanent solid intersections and remove redundant enclosed caps. Preserve room-facing walls, cavity interiors, visible backs, moving-part boundaries and reusable modular end caps.
Preserve authored shading
Keep per-corner normals, hard edges, winding and UV seams through triangulation and export. Global welding or normal recalculation can damage an imported open shell. Inspect both sides with backface culling; a double-sided Blender preview can hide a missing interior.
Page 4Make textures easy for builders to use
Plan material faces before baking
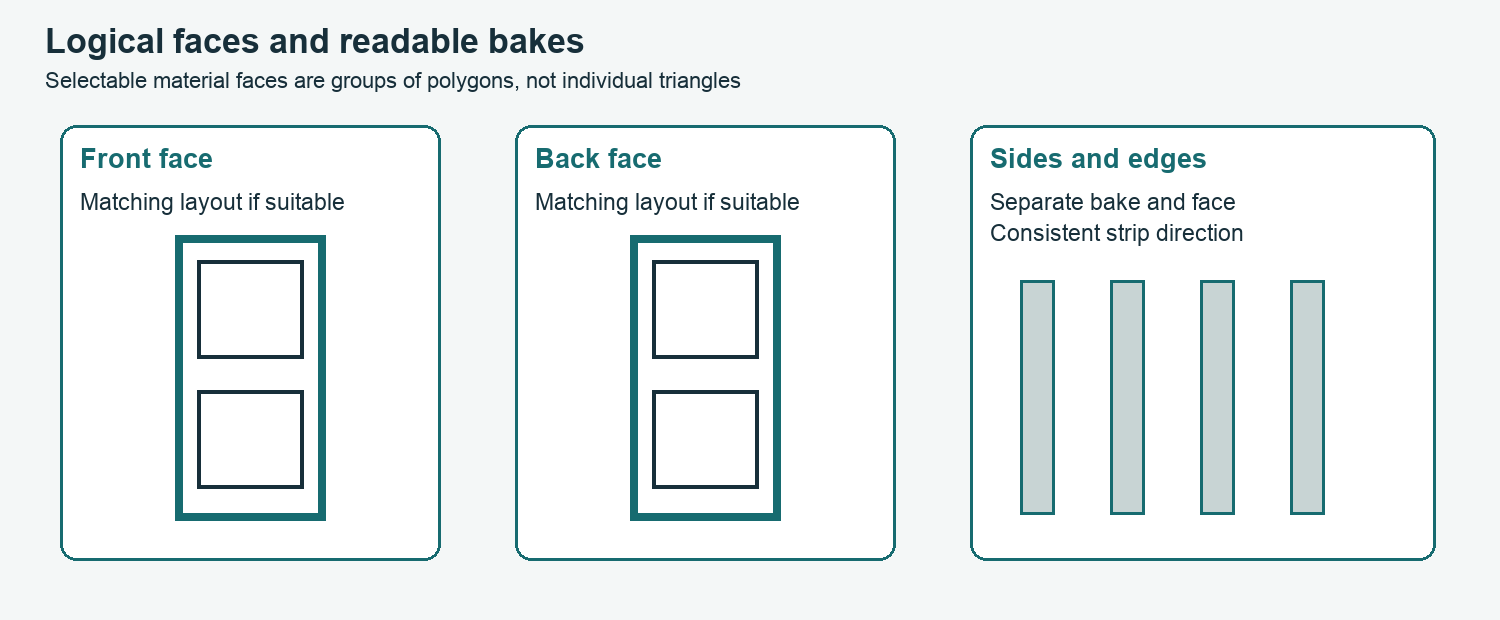
A viewer material face is a selectable material slot, not one triangle. Give the front, back, edges, glass and hardware deliberate slots. A conservative project ceiling is eight slots per exported mesh part. Record expected face indices and verify them after actual upload.
Use meaningful layouts
Place a recognizable door elevation on the front bake. A symmetrical back can reuse the same image while remaining independently selectable; separate it when details differ. Lay out edge strips consistently. Avoid an unreadable atlas of tiny scattered fragments when users need to paint recognizable parts.
Match scale once
For a 4 by 4 m tiling texture, an 8 m wide wall needs two horizontal repeats. Use UV U from 0 to 2 at a viewer repeat of 1, or UV U from 0 to 1 with viewer repeat 2. Do not apply both. Keep phase continuous across wall pieces. Separate front and back slots so applying a texture to one side does not change the other.
Prompt to copy
Apply a numbered checker and a directional test texture. Show the front, back, reveals and edges, plus the UV layout. Verify scale, orientation and continuity before the final white bake.
Page 5Bake and assemble the materials
Prepare a controlled bake
Apply the intended transforms and create the target UVs and image. Assign an active bake target for each material being baked. Choose the bake pass deliberately, use enough padding for the output resolution, and inspect seams, recesses and corners. Keep UV islands separate during baking where different surfaces need different shading.
Keep generic finishes neutral
For the generic builder kit, use white or neutral surface color with restrained baked contact shading. Supply separate AO and clean color sources so users can recolor. Avoid permanent colored lighting or strong directional shadows in reusable textures.
Keep PBR and fallback consistent
Collada does not carry an entire Blender shader graph into the viewer. Supply actual images and supported material assets. Our OAR path packages native PBR material assets and their image dependencies. Check channel packing and coordinate conventions against the target material format; label them in the manifest.
Verify the result
Test transparent and opaque surfaces, texture orientation and material slots in neutral light. Inspect base color alone as well as the full PBR material. Keep glass separate so its transparency does not accidentally affect an opaque frame.
Prompt to copy
Save readable front/back and side bake images, separate AO, a named PBR material per surface, and a material-face CSV. Render the exported geometry with those images. List any remaining viewer-dependent settings.
| Map | Purpose and treatment |
|---|---|
| Base color | Surface color; use appropriate color interpretation |
| Normal | Fine surface direction; treat as non-color data |
| Roughness | Surface reflection spread; non-color data |
| Metallic | Metal versus dielectric response; non-color data |
| AO | Local occlusion; keep available as its own source |
| PBR material | Links maps and factors to a named surface |
Page 6Build LODs and walkable collision
Design each visual LOD
LOD means level of detail. Reduce small hardware and fine profiles as distance grows while retaining the outline, openings and required material faces. Keep names, transforms and compatible bounds across High, Medium, Low and Lowest. A disappearing wall is not an acceptable reduction.
Simplify physics separately
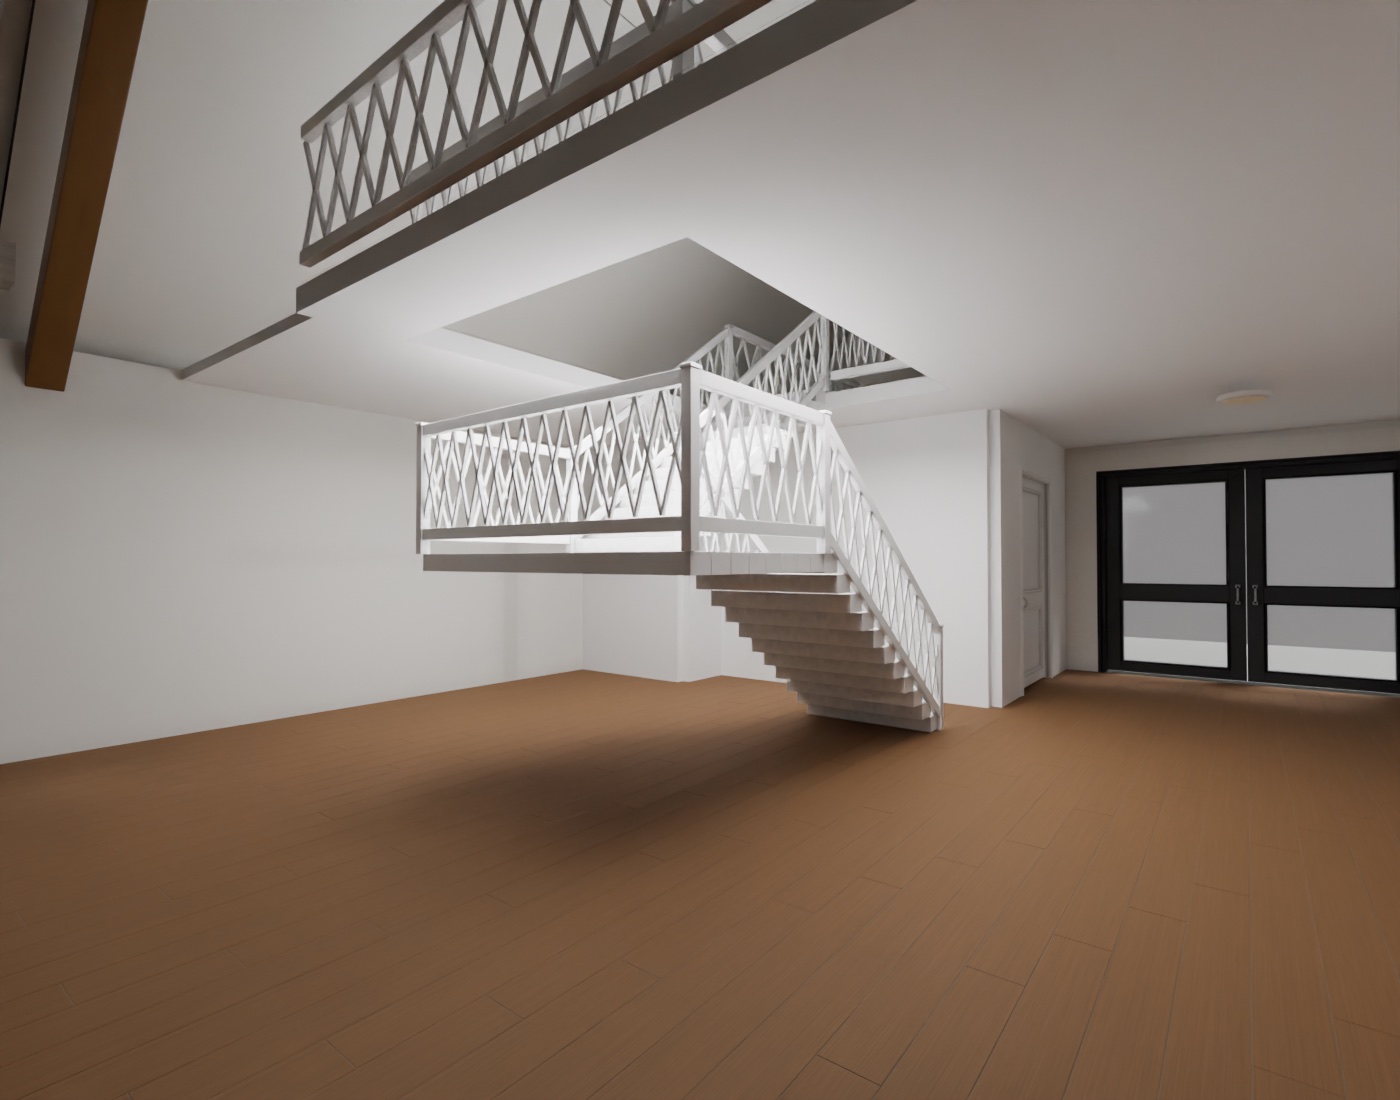
Use simple collision surfaces for floors, walls and ramps beneath stairs. Preserve actual door openings and stair voids. A single convex hull around a complete house can block its interior. Decorative rails can use simplified collision where appropriate; a whole phantom house is not a walkable building.
Measure circulation
Check route width, door swing, threshold transitions and headroom using an explicit avatar-clearance proxy. Recompute physics after changing a stair or wall. The Barnhouse repair shortened the stair footprint by using a return layout; enlarging the whole model was not the only available correction.
Prompt to copy
Show visual geometry and collision separately. Check entry-to-room and entry-to-upper-floor routes with a 0.9 m wide clearance proxy, and report minimum headroom. Treat those numbers as this test specification and still require an in-world walkthrough.
Page 7Export and validate the delivered files
Produce the upload package
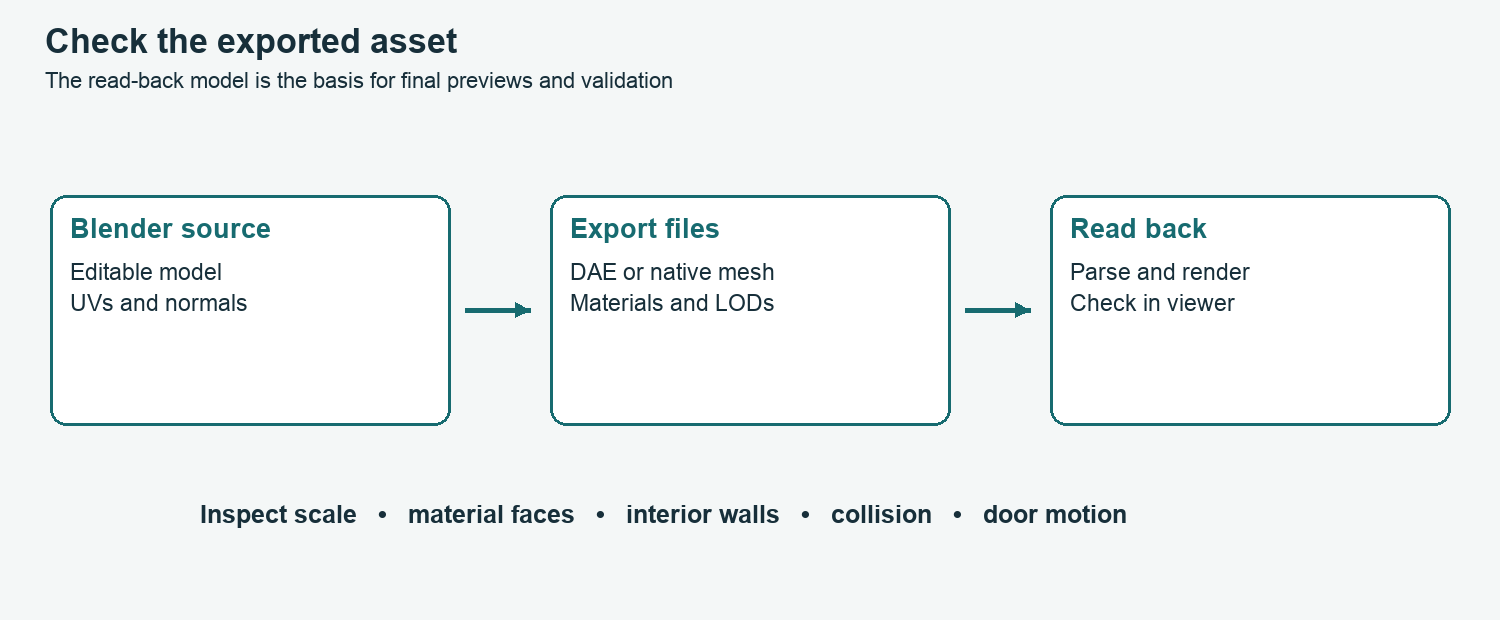
Keep an editable .blend with portable textures, the build source, four named visual DAE files and a physics file with import instructions. Maintain stable part names and material order. Use relative image paths in the shareable package.
Reopen and inspect
Parse the DAEs or native meshes. Check finite coordinates, valid indices, nonzero triangles, material bindings, UVs and bounds. Render read-back geometry under neutral lighting and backface culling. Inspect interiors as well as exteriors. Small triangles can collapse during native quantization; inspect and repair the affected geometry.
Make doors import ready
Store each leaf’s closed transform, pivot, travel or rotation limit and group. Attach scripts to the intended linkset using verified identifiers. Allow for delayed availability on load. Verify opening, closing and script reset without cumulative drift; scripts must not rely on guessed link numbers.
Asset/
  Source/          editable Blender and build scripts
  Upload/          High Medium Low Lowest Physics DAE
  Textures/        base color normal roughness AO
  PBR/             material definitions
  Scripts/         LSL and setup notes
  material-faces.csv  validation.json  README.md
Page 8Import test and hand off the asset
Choose the import route
For a viewer upload, select the High model, load each matching LOD and the intended physics file, inspect the preview and scale, then upload a small test. Apply materials using the face map. If a collision file is only a reference, follow its specific instructions; do not assume it is a matching per-part uploader physics set.
Use OAR for a prepared assembly
For the project OAR route, encode the native meshes and materials, serialize the linked objects, bind the door scripts and add a contents box. Follow Guide 2 for dependency validation and object-only merging. Keep a box per building with named texture, PBR, AO and script assets.
Do the in-world checks
Walk through every doorway and up every stair. Inspect walls from both sides and several camera distances. Confirm face selection, texture scale, glass, doors and box retrieval. Record measured land impact and simulator behavior only after observing them.
Troubleshoot by layer
Invisible interiors: examine triangle winding and backface culling. Texture stretches: inspect UVs and atlas boundaries. Blocked stairs: inspect physics and floor openings. Door failures: check identities, pivots and startup timing. Distant holes: inspect the actual lower LOD. Missing assets: inspect archive dependency closure.
Deliver evidence with the model
Provide dimensions, part counts, collision policy, source files, complete upload set, face map, material files, previews and validation report. State which tests were offline and which were performed in a viewer. Keep the previous release for comparison.
Sources and project examples
[1] OpenAI model reference: https://developers.openai.com/api/docs/models/gpt-6-astra
[2] OpenAI Build skills: https://learn.chatgpt.com/docs/build-skills
Project evidence: Skills/opensim-mesh-builder and its references; output/robinwood-houses-repair-v3/Source/{geometry.py,native_codec.py,door_script.py,validate_package.py}; output/generic-two-pane-glass-doors-v2/Previews/Top-Glass-Fit.png. Guide standards come from this project; simulator and exporter details must be checked against the installed versions.